Try it out
You have installed ViveEngine, activated it, and built the SDK tools. This page gives you a quick check that the engine responds and can process audio.
Interact with engine from terminal
In this section we'll use vive-ctl for a terminal-based smoke test. The commands below check the running engine, read the license state, inspect the current flow, and then replace that flow with a small effect chain.
Note
In previous steps, we've added vive-ctl to PATH. The commands below assume that step is already done.
-
Check that the engine is online:
vive-ctl engine statusExpected output:
Edition:     ViveEngine (Shared)
Identifier:  com.vivesound.viveengine-shared
Version:     1.1.92
Address:     127.0.0.1:50051
Status:      online
The address and version can differ on your machine. The important part is
Status: online. If the command cannot connect, make sure the engine is installed and running. -
Read the current output processing flow:
vive-ctl flow query --dir outputExpected output for a fresh route with no effects:
Route: di:a3f2c:1b8e4:00000:7e91b
Effects: (none)
On a fresh setup, the flow is usually empty. That means ViveEngine is ready, but it is not changing the audio yet.
-
List output devices:
vive-ctl device list --match outputExpected output:
UID                         NAME               DRIVER     FEATURES
do:9d2b0:6e3a1:00000:43e1c  Bluetooth Speaker  WASAPI     Output|Bluetooth
do:c1e49:4f8b2:00000:8a7f3  Built-in Speaker   WASAPI     Output|Default|Builtin
Device UIDs and names are machine-specific. Pick the UID for the output device you want to use.
-
Configure a simple flow with two effects:
vive-ctl flow configure --dir output --route <device-uid> \
    gain --chans -6,-6 noise_reduction --mode rnn
Expected output:
Route: <device-uid>
Effects:
  1  gain             --chans=-6,-6
  2  noise_reduction  --mode=rnn
Replace
<device-uid>with the UID of the output device you picked from the device list. The command routes output audio to that device and adds two effects: gain with the volume set to -6dB (≈0.5x), followed by RNN noise suppression.
What you should hear?
Play any YouTube video with speech and noticeable background noise.
Since output processing is enabled, the effects will be applied during playback, and the audio will be played through the selected output device.
You will hear:
- the volume reduced to 50%;
- clear speech with the background noise suppressed.
Try the GUI demo application
The SDK also includes a small .NET desktop demo. Use it if you want to try the same ideas through a graphical interface.
Note
In previous pages there was an optional step to build this demo. Here we assume it's done.
The built demo executable is under the publish directory:
examples/dotnet-app/bin/Release/net10.0-windows10.0.19041.0/win10-*/publish/
examples/dotnet-app/bin/Release/net10.0-maccatalyst/maccatalyst-*/publish/
Open the executable from that folder. The demo connects to the local engine and shows controls for the current audio setup.
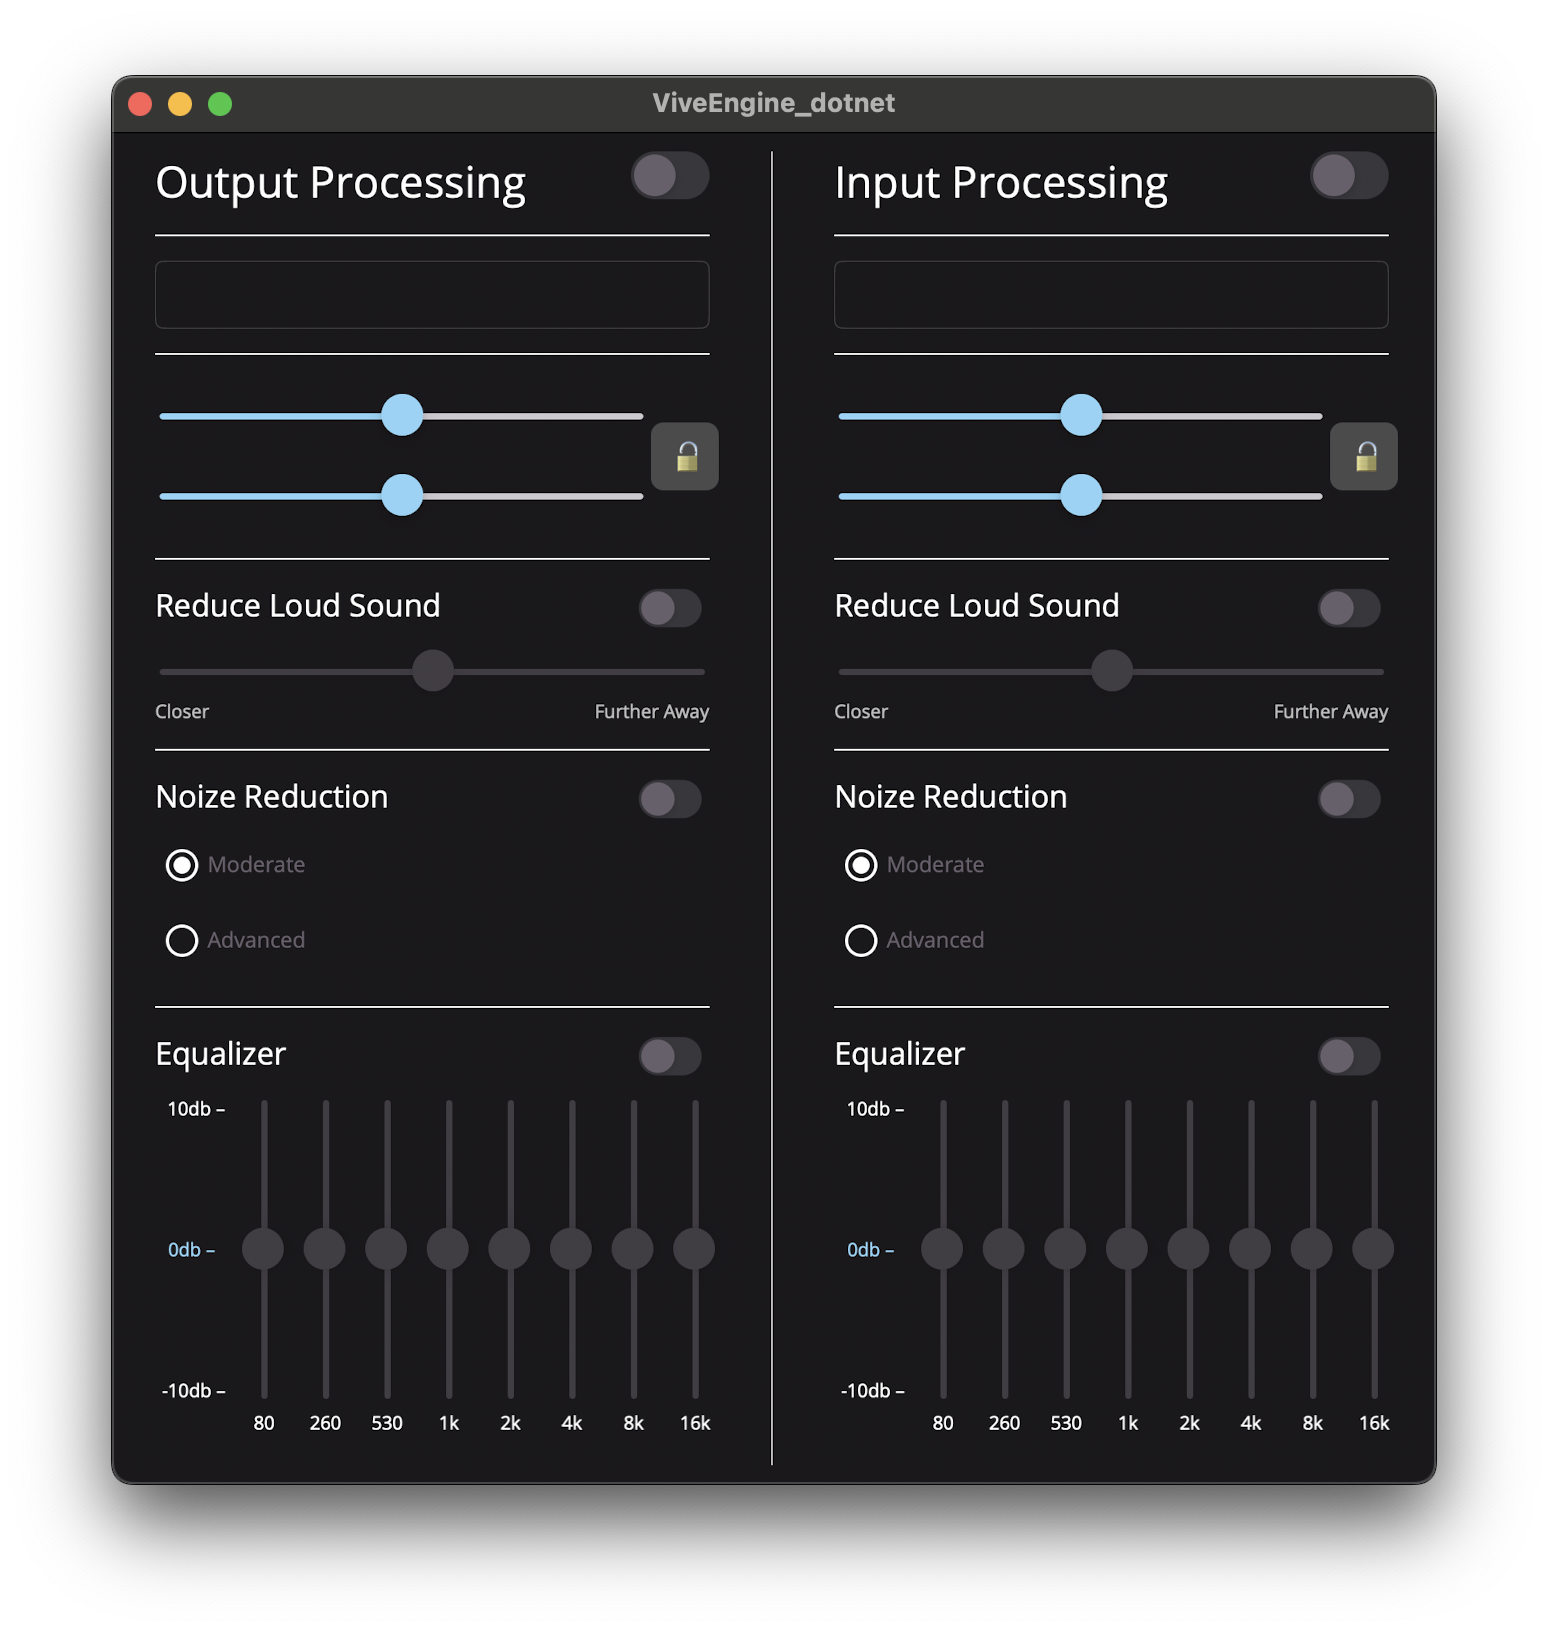
From the demo, you can pick input and output devices, turn processing on or off, and adjust effects such as noise reduction, equalizer bands, volume boost, and compression. Play audio in another app while changing the controls. You should hear the result immediately as the effect chain changes.
Learn more
Your setup is ready!
ViveEngine is now running and ready to be used through the SDK.
Now that you have completed this tutorial, you can: